



Phone Case Speaker and Microphone Openings: An OEM Buyer’s Audio Check
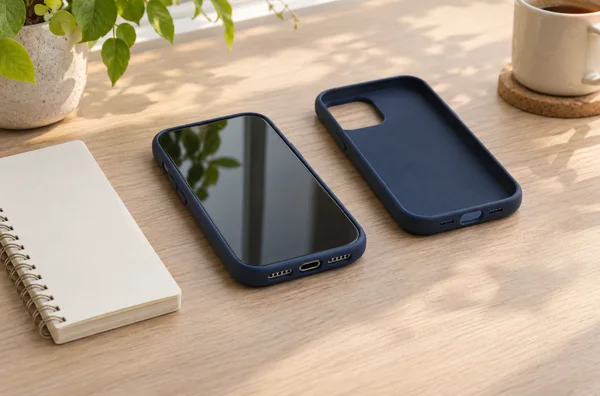
Check phone case speaker and microphone openings on a working handset before approving an OEM sample. Compare the same working phone with and without the case during receiver calls, speakerphone calls, voice recording and video recording. Inspect the installed case as well as its drawing: an opening that looks clear on a loose shell may be partly covered once the phone is seated.
This guide concerns built-in microphones, loudspeakers and the call receiver. It does not assess USB-C microphones, headset plugs or digital audio connections, which need a separate USB-C clearance review. The checks below are a proposed purchasing workflow, not a report of DUXDUCIS test results or an audio-performance guarantee.
Why audio deserves its own sample check
A dummy phone can help review fit but cannot demonstrate call or recording quality. Likewise, a photograph of the bottom edge cannot show how a fitted case behaves during a conversation. The purchase decision is whether this case revision introduces an audible problem on any phone model being ordered.
Apple’s Accessory Design Guidelines, section 5.2, address call quality, unobstructed microphones and unwanted speaker-to-microphone coupling. They also distinguish the acoustic paths of thicker cases. These are device-design requirements, not evidence that a particular case has passed. For other phone brands, obtain the relevant model information rather than copying iPhone opening geometry.
Map the sound paths before reviewing the shell
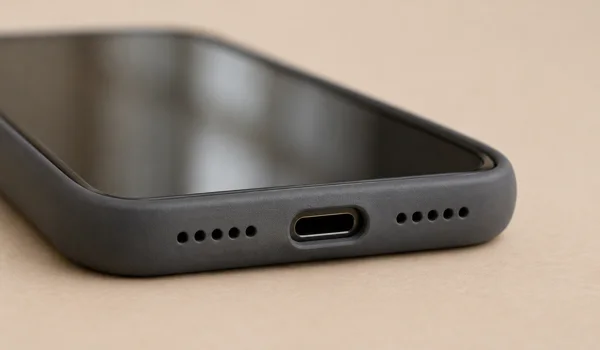
Start with the exact supported device variant and case revision. Identify the receiver, loudspeaker outlets and microphone openings from reliable device documentation. Do not assume that two similar-looking grilles serve the same function, or that one handset’s layout applies to the next generation.
| Area | What the buyer should inspect | Functional check |
|---|---|---|
| Call receiver | Top lip, front frame and any intended screen-protector combination | Listen to a normal handset call |
| Loudspeaker outlet | Opening alignment after installation; material projecting across the outlet | Compare the same playback and speakerphone call |
| Microphone openings | Clear paths around each documented location, including areas near cameras | Compare voice and front/rear video recordings |
| Thick or multilayer edge | Internal passages and separators, not only visible exterior holes | Listen for a repeatable change during two-way conversation |
For each area, save a close-up of the phone installed in the sample. If an opening is hidden by the construction, request a section drawing or disassembled sample. Enlarging the exterior cutout may leave an internal obstruction unchanged.
Run a controlled case-on and case-off comparison
1. Establish a usable baseline
Use a functioning production handset, not only a display dummy. Record its exact model, operating-system version and the apps used. Check audio routing so a Bluetooth headset or external microphone is not taking over the test. Keep the room, volume setting, speaking distance and test material consistent.
First check the bare phone. If its sound is already unclear, resolve that problem before judging the case. Apple’s speaker troubleshooting guidance recommends removing accessories and checking for blocked speaker or receiver openings; it also notes that network or reception can affect calls. A poor call alone does not establish a case defect.
2. Repeat the same tasks with the case installed
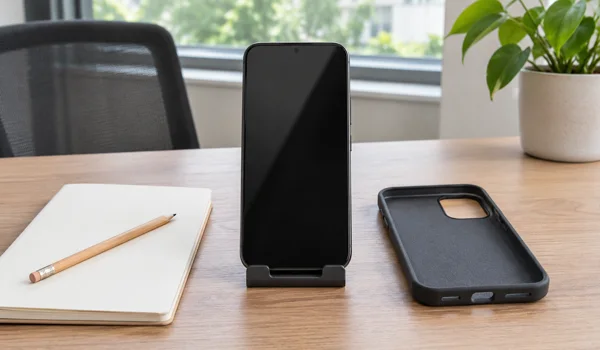
Seat the phone completely, following the intended assembly order. Use the same short spoken passage for a voice recording, then record front- and rear-camera clips. Play a saved speech track through the handset speaker at the same setting. Complete a handset call and a speakerphone call with a cooperating listener.
Ask the listener to note specific differences rather than simply marking “good”: quieter speech, muffled consonants, intermittent loss, buzzing or echo. Record which mode produced the observation. Do not treat one clear voice recording as proof that every call mode is satisfactory.
3. Separate recording changes from playback changes
If a recorded clip sounds worse, replay both the case-on and case-off files through the same separate playback equipment. This helps avoid confusing a change in the phone’s playback with a change captured in the recording. Preserve the original files and their labels; do not normalize or edit them before the initial comparison.
Alternate case-off and case-on runs if a difference appears. Reinstall the sample and repeat the affected task. If the problem returns only with the case installed, document it for investigation. The cause still needs checking.
Check the configurations customers will actually use
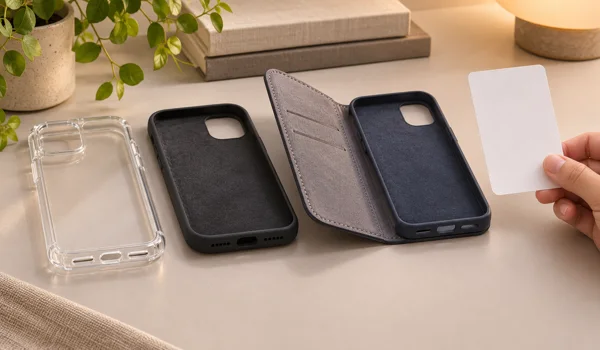
Test the configuration being sold. For a folio case, include the cover positions intended for calls. If a front frame or screen protector is supplied, review that combination rather than testing an incomplete kit. Record any configuration not yet checked.
Use consistent, ordinary grips in portrait and landscape positions. Compare the same grip with and without the case, so a finger covering an opening is not mistakenly attributed to the shell. Do not deliberately block ports and then call the result a normal-use failure.
Inspect more than a hand-finished presentation sample when deciding how to release production. Agree which finished samples, mold cavities or construction variants need review. Material flash, an added liner or an assembly change should trigger a targeted recheck if it affects the sound path. The buyer and supplier must agree the sampling scope; there is no universal quantity prescribed here.
Decide whether to approve, hold or retest
Use a short issue record for each failure: sample ID, device, mode, case position, baseline result, observed difference and supporting file. Hold approval for the affected configuration until the cause is understood and any correction is checked. Avoid accepting “the holes match the drawing” as the complete answer to a reproducible audio complaint.
For a disputed result or a contractual acoustic claim, ask a qualified laboratory to define suitable measurements and acceptance criteria. An informal listening comparison is screening, not a certified measurement of frequency response or a universal decibel pass limit. Do not put numerical audio claims on packaging without the corresponding evidence and agreed scope.
Add the audio record to the broader phone case sample approval checklist. Keep the approved case revision, reference sample, observations and unresolved limitations together. If the opening geometry, inner lining or front assembly changes later, decide which checks must be repeated before approving that revision.
What to send with an OEM inquiry
For a DUXDUCIS OEM/ODM inquiry, provide the target device models, case construction, intended front accessories and priority uses such as handset calls or video recording. Attach annotated opening locations and any observed problem from an existing sample. Ask what sample review and documentation the quotation includes. Confirm any additional testing separately.
Frequently Asked Questions
1. Can a case affect sound even if its holes look aligned?
Yes. Visible alignment is only one check. Review the installed case and any internal passage or front accessory, then compare real audio with and without the case.
2. Is a dummy phone enough to approve speaker openings?
No. A dummy can help inspect fit and visible clearance, but a working handset is needed to assess calls, playback and recordings.
3. Does a successful voice recording prove call quality?
No. Treat recording, handset calls and speakerphone calls as separate checks. A pass in one mode should not be extended to untested modes.
4. Should every opening simply be made larger?
No. First identify the affected path and the cause. Changing an exterior hole may not resolve an internal obstruction or an issue at the front receiver.
5. How should buyers distinguish a case issue from a phone issue?
Establish a clear bare-phone baseline and repeat the same task after installing the case. Investigate device, routing, app and connection problems when the baseline is also unclear.
6. Must screen protectors be included in the review?
Include the intended protector when it is supplied or specified as part of the case configuration. Record separately any combinations that have not been assessed.
7. Is there a universal decibel limit for sample approval?
This guide supplies no universal limit. For numerical acceptance criteria, agree the method, equipment, conditions and permitted change with a qualified laboratory before testing.
8. What should change after an audio-related design revision?
Update the sample and drawing revision, repeat the affected checks and retain the new evidence. Do not carry over approval when a relevant sound path has changed without review.