


Phone Case Camera Cutouts: Flash Reflections and Lens Clearance for OEM Buyers
A phone case can leave every lens uncovered and still interfere with photographs. The opening’s position and wall geometry affect clearance; its finish can redirect flash light into the image. Before approving an OEM case, check the exact phone model’s drawings, review the opening with manufacturing tolerances included, and compare photographs with and without the finished case. A neat-looking opening alone is not proof of camera compatibility.
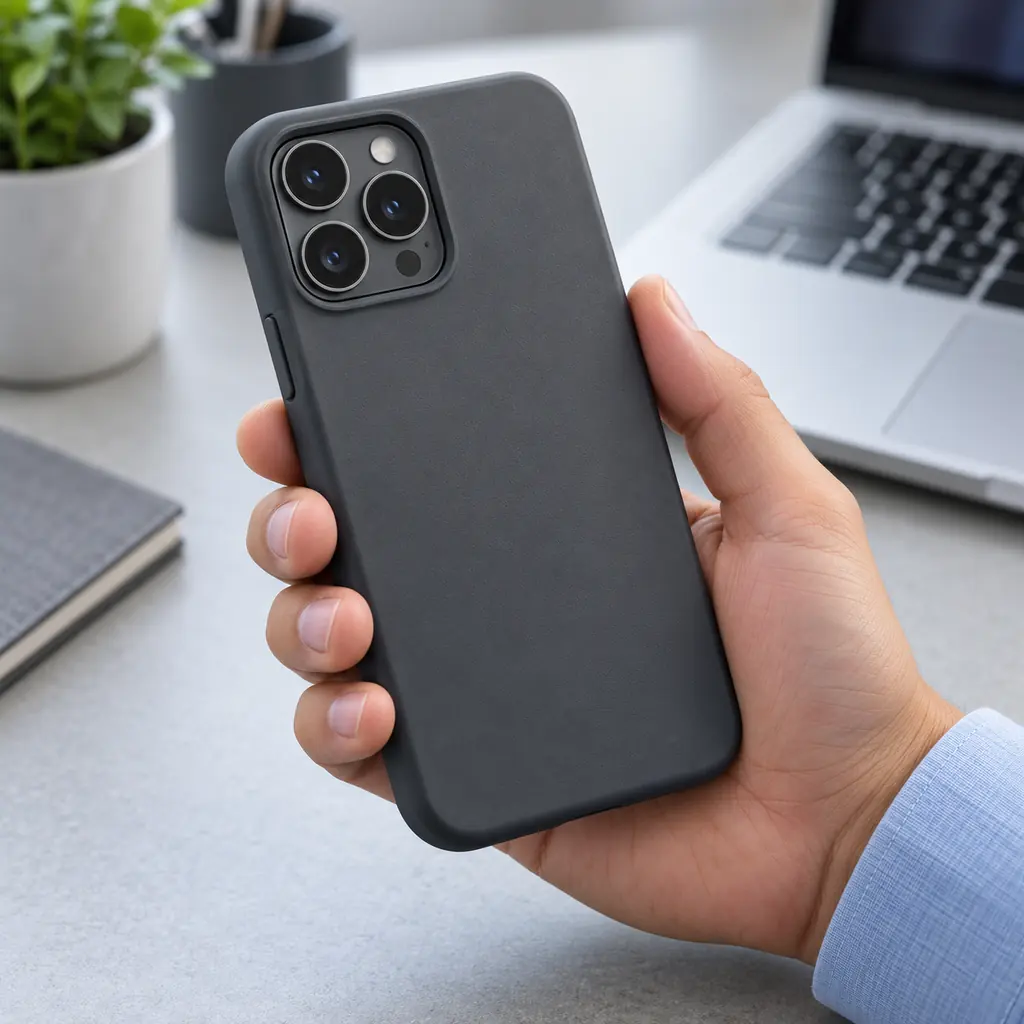
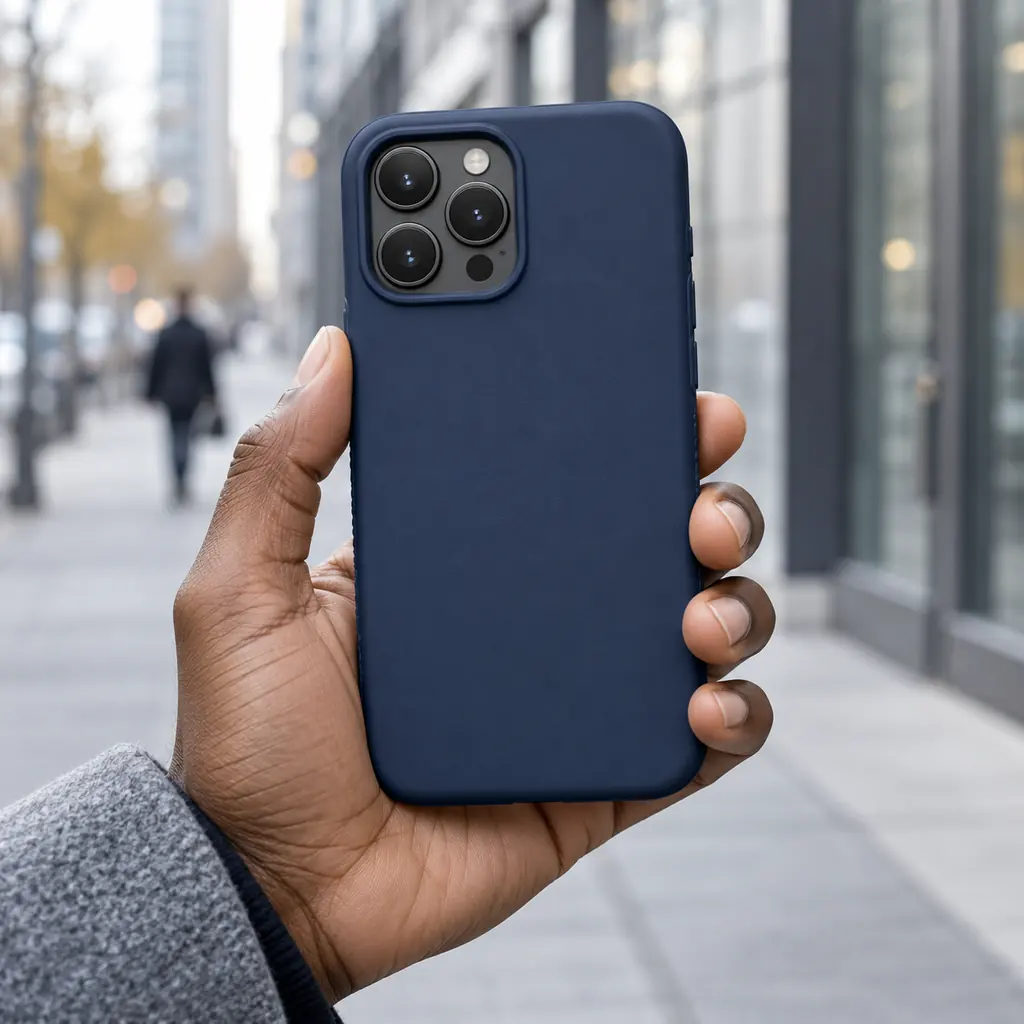
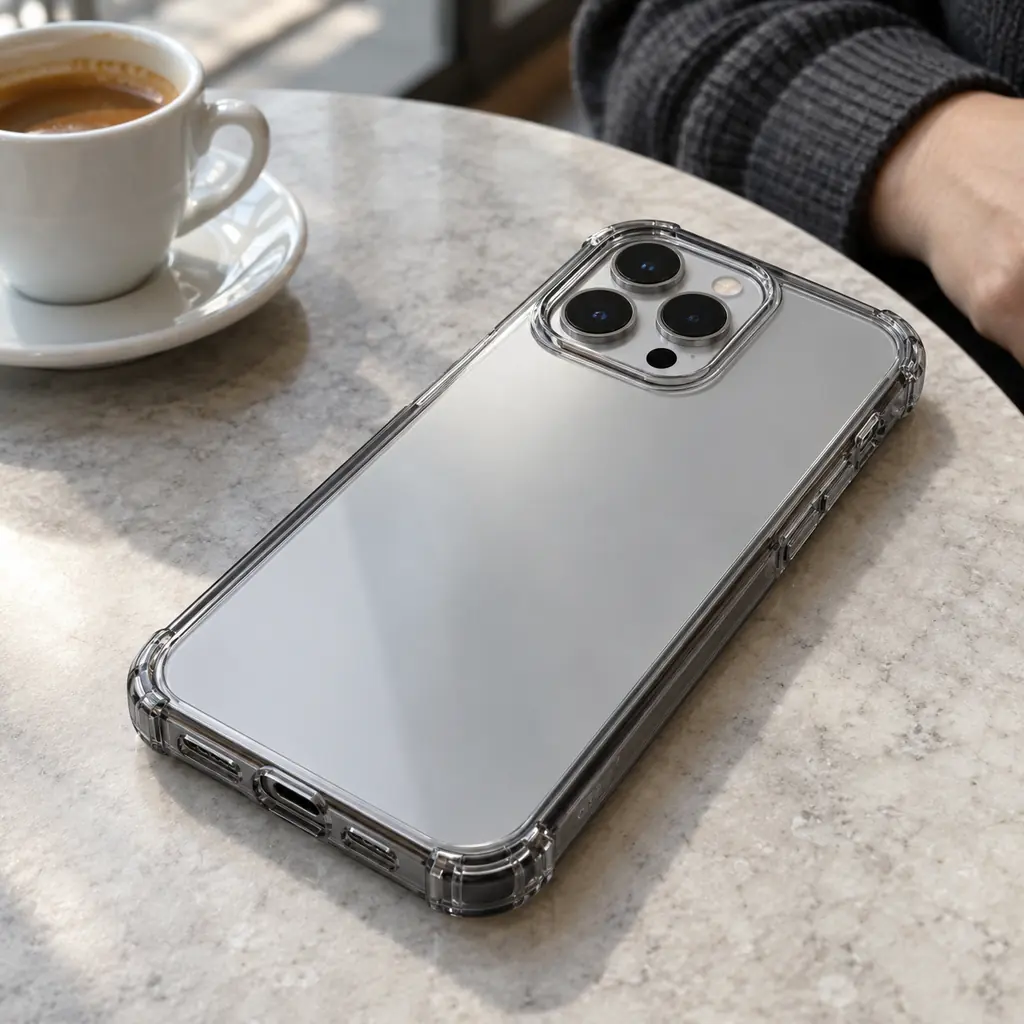
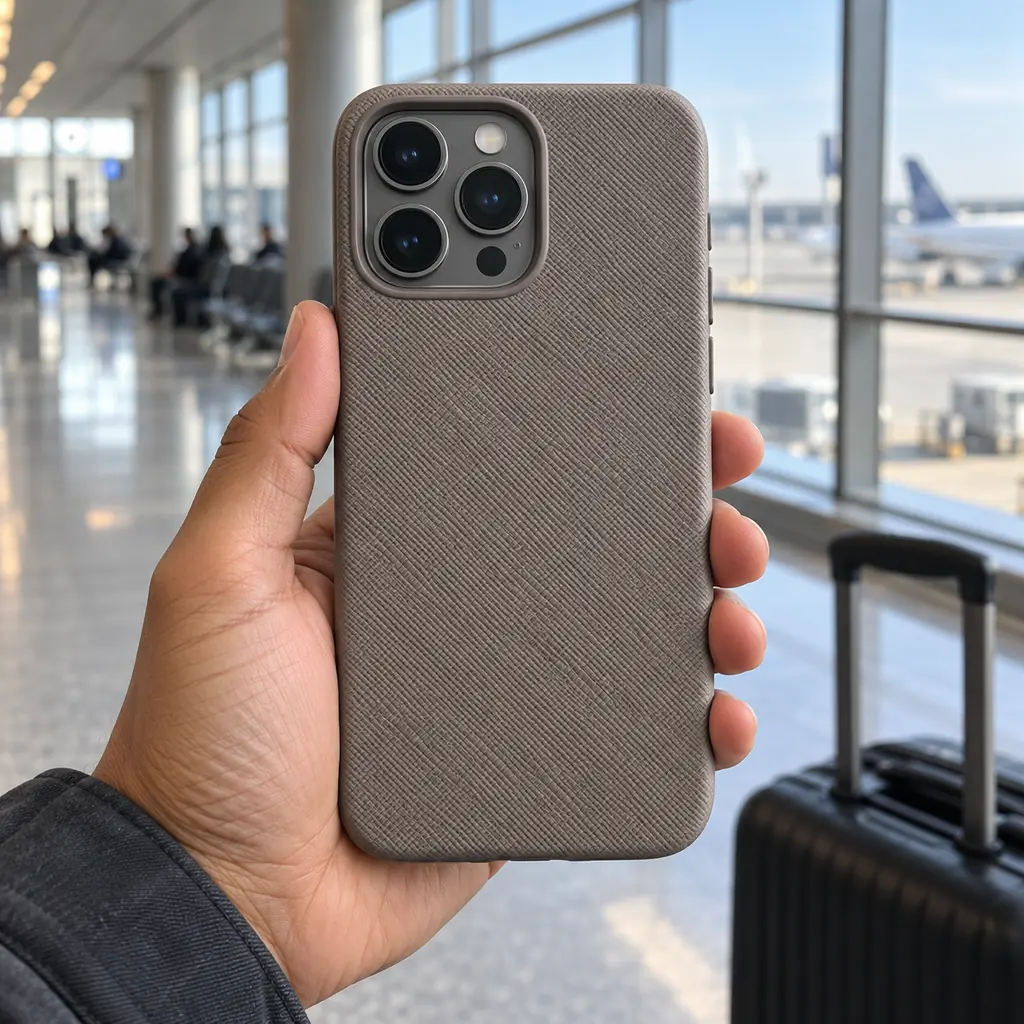
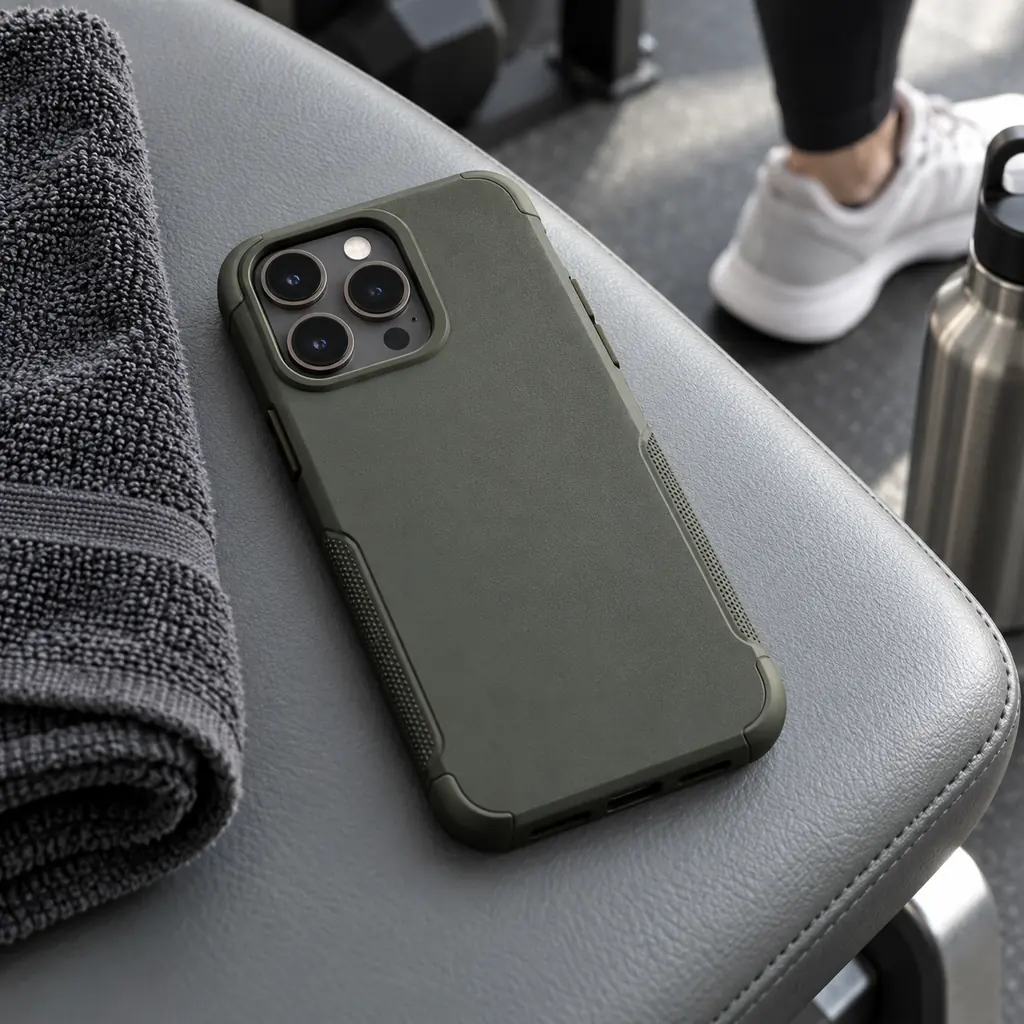
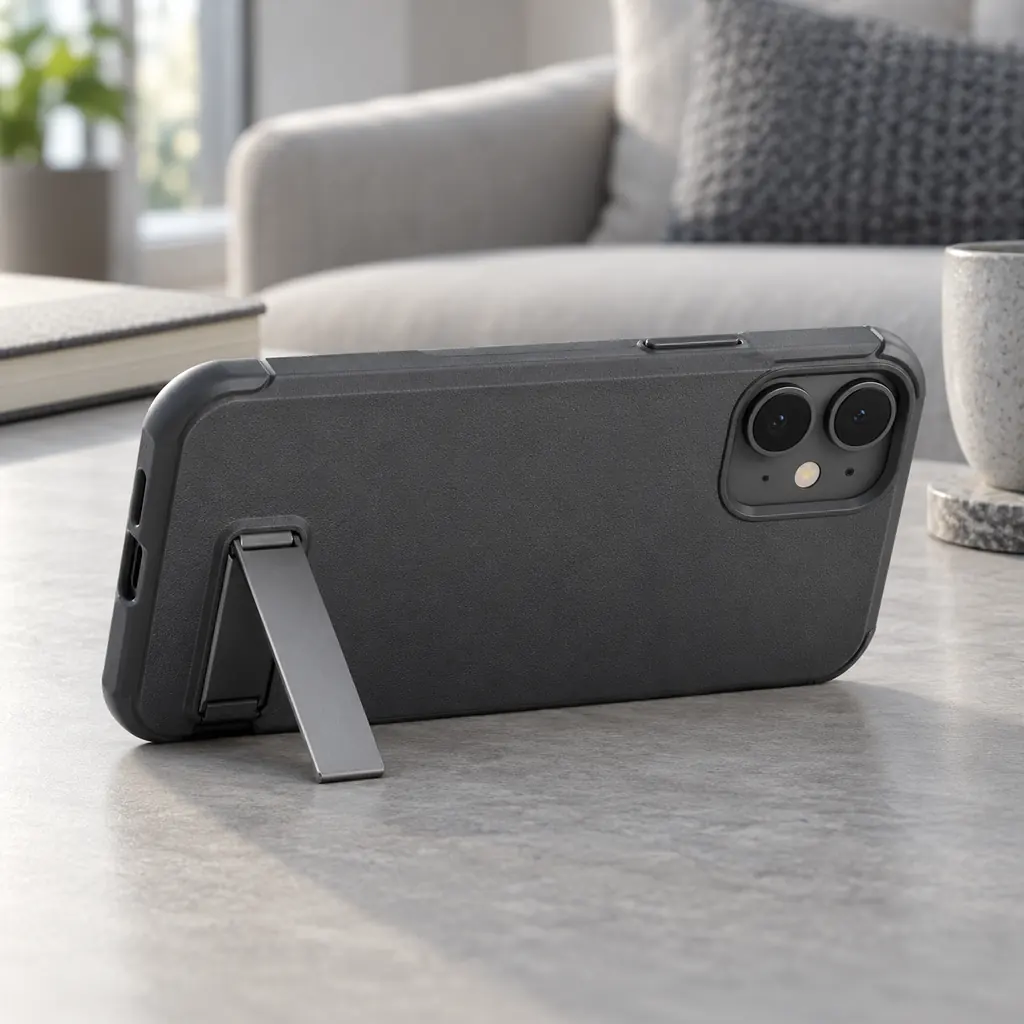
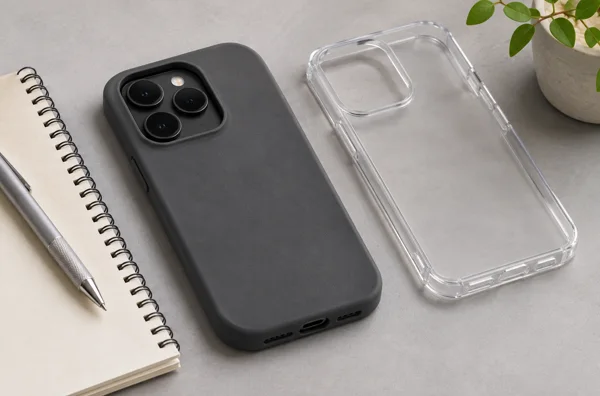
This guide focuses on rear-camera openings for private-label and wholesale case buyers. It does not cover the separate side-mounted Camera Control interface, and it does not establish a universal cutout dimension. Product scenes in this article are illustrative, not DUXDUCIS samples or test results.
What can go wrong even when the lens looks uncovered?
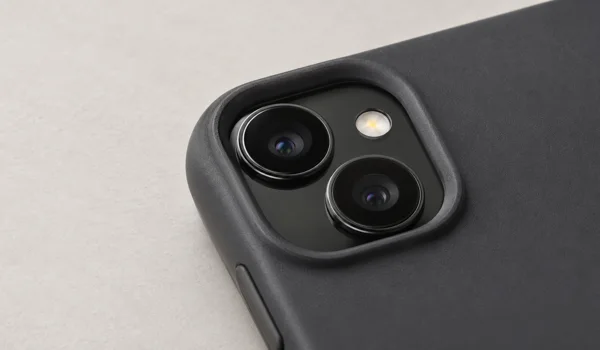
A thick wall can remain outside the lens glass while entering the camera’s wider viewing angle. A bright edge near the flash can redirect light toward the lens. A colored surround can introduce an unwanted tint. These problems may appear only with a particular camera, flash setting or case color, so a single daylight photograph is an incomplete check.
Apple’s Accessory Design Guidelines, sections 5.7–5.7.3, address camera field of view and flash interference. For iPhone case design, Apple recommends a semi-gloss black finish around the camera opening; a diffuse matte finish can scatter flash light. This is model-platform guidance, not proof that any case with a black ring will perform correctly. For another phone brand, obtain its applicable drawings and requirements rather than transferring iPhone dimensions.
Review the camera-surround drawing
1. Opening position and usable viewing angle
Ask the supplier to identify the exact supported phone model and drawing revision. Check each rear camera, not only the main lens. The edge must stay clear in the worst plausible assembled position, including permitted movement of the phone inside the case and variation in the molded opening. Looking straight down onto the lens cannot reveal every viewing-angle obstruction.
Where official drawings are available, use them as the starting point. The iPhone 16 Pro dimensional drawing is one model-specific example. It must not be used as a dimensional template for a different phone. Ask for a marked-up drawing showing the proposed camera and flash clearances, rather than accepting “fits the series” as a specification.
2. Wall height, slope and protective lip
A raised lip may help keep the camera area away from a flat surface, but raising it changes the opening geometry. Review the wall in section as well as from above. A chamfer may reduce interference, yet its benefit depends on the complete geometry and finish. Do not approve an added camera guard solely because it offers a larger advertised height.
3. Surround color, texture and added parts
Evaluate the production-intent material and finish. A transparent case, a colored opaque case and a case with a decorative camera ring are different optical configurations even when the base tool is shared. Include plated trims, printed borders and removable lens accessories in the review if they form part of the product being sold. A protective lens cover adds another optical surface and needs its own assessment.
A practical comparison for sourcing decisions
| Design under review | Question to resolve | Evidence to request |
|---|---|---|
| One open camera island | Do the opening walls remain clear of all cameras and the flash? | Model-specific drawing and case-on image comparisons |
| Individual lens openings | Does each opening allow the required viewing angle despite assembly variation? | Section views and alignment review for every camera |
| Transparent or colored surround | Does flash introduce haze, flare or a color cast? | Matched flash photographs of each proposed finish |
| Decorative ring or added lens cover | Does the complete assembly change clearance or image quality? | Finished-assembly review, not results from the undecorated shell |
Opening styles have different review priorities. Select a design against the target model, intended appearance and evidence from the finished sample.
Run a preliminary case-on and case-off comparison
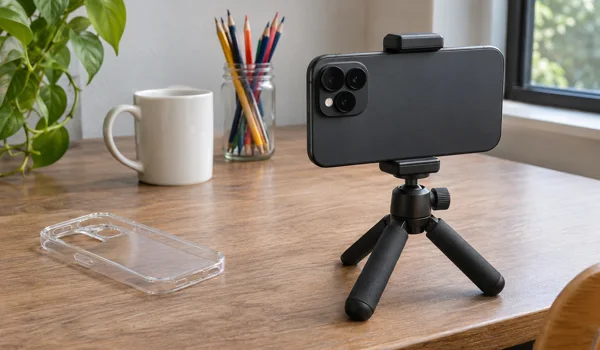
Give the sample reviewer a repeatable procedure. Use the same phone, camera settings, scene, distance and lighting for each pair of photographs. Clean the camera glass and make sure the case is fully seated. Keep the original image files and identify the phone, case revision, color and added accessories.
- Capture a baseline without the case, then repeat with the case installed. Keep the camera position stable.
- Check the available rear cameras at their normal selectable views. Include the widest view, where an edge obstruction may be easier to notice.
- Repeat a flash comparison under controlled low-light conditions. Look for a new haze, localized flare, uneven brightness or color shift that appears with the case.
- Inspect image corners and edges, not just the center. Note whether a defect changes when the phone is reseated.
- Repeat for production-intent colors and camera surrounds. Record failures separately instead of averaging them into a pass.
- If a difference appears, isolate the shell, decorative ring and optional cover where the design permits. Return the paired images and exact configuration to the supplier for investigation.
This screen is useful for finding obvious problems; it is not a formal camera qualification test. Apple describes a separate camera image-quality workflow in section 5.10.6 of its guidelines, involving specified equipment, charts and the Accessory Developer Assistant. A supplier’s informal photo comparison should not be represented as completion of that workflow or as Apple certification.
Turn the findings into an approval decision
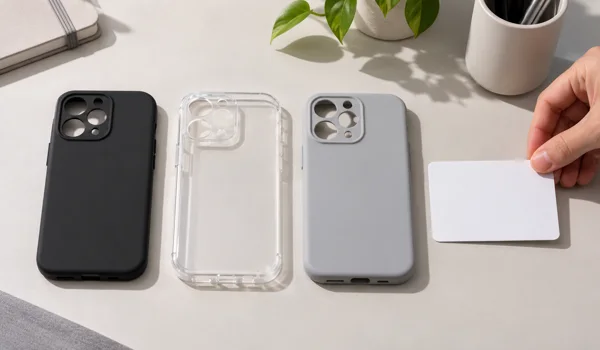
File the model list, drawing revision, surround finish and sample photographs together. If one color behaves differently, approve or reject that version explicitly. “Same mold” does not establish that all finishes produce the same camera result.
When photographs are inconclusive, ask for a revised sample or an appropriately specified test before release. Avoid writing a numerical pass limit after seeing the results. Agree on the method and acceptance criteria in advance, with technical help where needed. Retain the approved sample so later substitutions in a ring, coating or shell material can be assessed against it.
For the wider approval process, use our OEM phone case sample approval checklist. Camera review is one part of that decision, alongside fit and access to controls; it should not replace the rest of the sample assessment.
What to include in an OEM camera-cutout enquiry
Send the exact device models, desired case construction, proposed colors, camera-surround treatment and any bundled lens accessory. Attach reference images that distinguish appearance from mandatory geometry. Ask which features are available in the proposed design and which require further development. Request a production-intent sample and a written description of the camera checks that will be supplied.
You can review DUXDUCIS clear phone case options and OEM/ODM services before defining the request. Confirm model availability and any customization directly for your project. This article does not claim that a listed case has passed a particular camera test or that every requested finish is available.
Frequently asked questions
1. Can a phone case affect photos without covering the lens?
Yes. An opening wall can enter a camera’s viewing angle, and light reflected from a nearby surface can affect flash images. Check the complete opening geometry and compare images with and without the finished case.
2. Is there a universal minimum camera-cutout size?
No. The required opening depends on the exact phone, camera positions, viewing angles, wall geometry and assembly tolerances. Use model-specific drawings and verify the proposed case rather than copying a dimension from another device.
3. Does a larger raised camera lip always improve the design?
No. A lip may separate the camera area from a flat surface, but added height can change clearance and reflections. Review the cross-section and image results together instead of treating height alone as a quality measure.
4. Is matte black always the right camera-surround finish?
No. Apple recommends semi-gloss black around iPhone camera openings and warns that diffuse matte surfaces can scatter flash light. Apply the relevant device guidance and evaluate the actual finish; a color label alone does not establish suitability.
5. Should every case color be checked with flash?
Include each proposed camera-surround finish in the review because color, transparency and texture can change reflections. A shared mold does not prove that all color versions have the same effect on photographs.
6. Are individual lens openings better than one large opening?
Neither is automatically better. Individual openings require clearance checks for each camera, while a larger opening still needs suitable walls and flash clearance. Choose using model-specific geometry and finished-sample evidence.
7. Does a simple photo comparison count as formal camera testing?
No. A controlled case-on and case-off comparison is a preliminary screen. Formal test procedures may require specified charts, fixtures, lighting and software. Record the actual method and do not describe an informal check as certification.
8. What should change after a supplier replaces the camera ring or coating?
Review the replacement as a changed optical configuration. Identify the new part or finish, inspect its geometry and repeat the relevant image comparisons before accepting it as equivalent to the approved sample.